How Do You Test For Black Mold?
Mold is a latent health hazard lurking in all types of buildings. From commercial premises to residential homes, mold exposure continues to trigger various allergic reactions, such as itchy eyes and breathing difficulties. Most home occupants continue to suffer from these warning signs but do not relate them to the molds in the house. Whether you are experiencing any of these symptoms or not, mold testing is a simple health measure to follow. Keep in mind that if you do not handle your mold issue effectively, it may result in more costly treatment for a range of health implications. That’s why you need a mold expert to detect and eradicate them safely for you. Here are five simple steps to help you identify molds in your home.
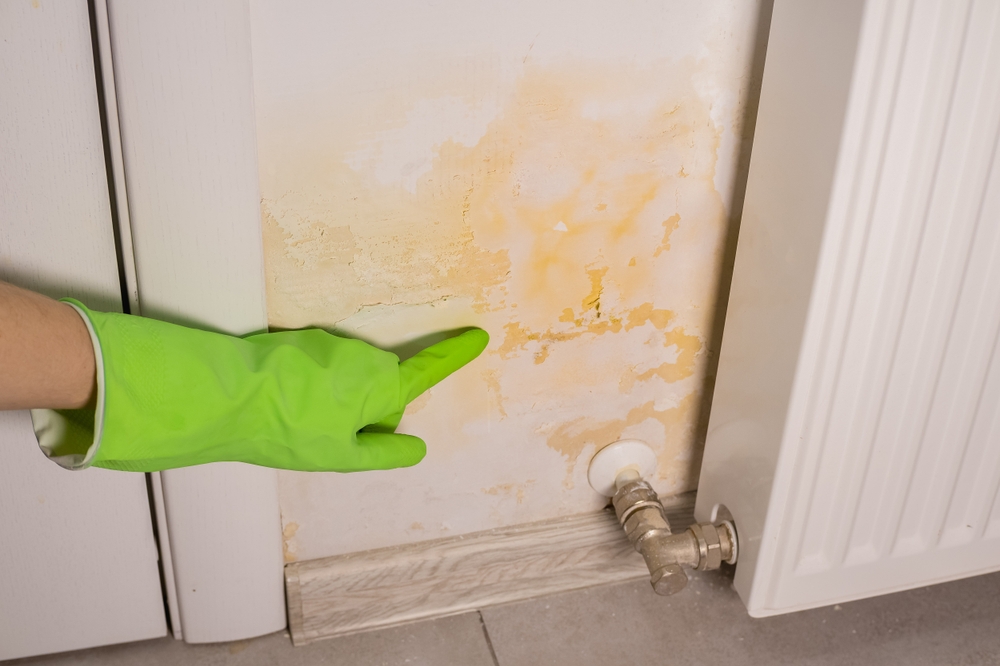
Step 1- Thorough Visual assessment
Even if you can see and smell mold growth on your walls and floors, it can also hide beneath carpets and in cracks. Bear in mind that molds flourish in damp areas. So, check for any black marks around the pipes, bathrooms, and kitchen, as well as on the roof gutters. Sometimes, you may not be able to smell or see molds in your house, but you might still experience health issues related to mold exposure. In such an instance, it is wise to consult a professional for a proper analysis.
Step 2- Invest in a Reliable Test Kit
To confirm your home is mold-free, consider using a reliable DIY mold test kit. Several mold testing kits are now available on the market. Some require additional lab testing for a more in-depth analysis, while others provide results on the spot. If you only want to confirm the presence of molds without further analysis, opt for the one that provides instant results. Nevertheless, an expert analysis would be a better idea to confirm the exact mold species and professional tips on how to keep them away.
Step 3 – Prepare Your Sample
Most DIY mold testing kits provide Petri dishes to collect the sample. To check for mold presence in the air, place the dish on a surface and cover it for approximately an hour. Another faster way of testing molds is through the HVAC system. Tape the Petri dish to one of the air ducts and check for molds within ten minutes. If you manage to capture visible molds, the next step will be less complicated.
Step 4 – Analyze your Petri dish
Molds take hours to grow. Within 48 hours, you can observe some mold formation on your Petri dish. If you cannot detect any, extend your time to another 24 hours and check for any changes. However, if you do not identify mold growth within 96 hours, it is likely that your house is mold-free. In general, it is best not to rely solely on the results from a single DIY kit. You can repeat the same procedure with another mold kit or get an expert to do it for you.
Step 5- Take your Sample for Further Analysis
There are diverse instructions given on where to take your sample for scrutiny on each kit. While some mold kits include the analysis cost in the buying price, others require you to pay after sample collection. DIY mold kits are toxic-free, so you don’t need to worry about exposure to harmful chemicals.
The only thing that you should worry about is the mold itself. As a safety measure, wear a mask and gloves to minimize your contact with the toxic black mold.
At Discount Water and Mold Removal, we will help you detect mold through our effective air sample testing and expertly remove it. Contact us for a free inspection and healthier living.
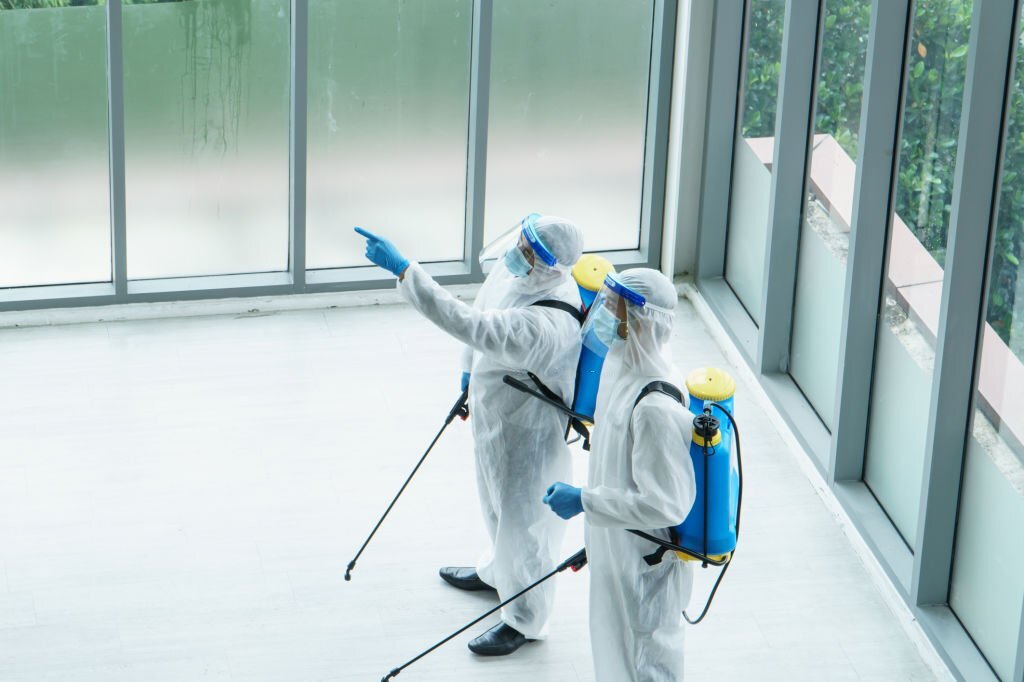
Why Professional Testing Can Save You Time and Money
While a DIY test kit can be useful for initial detection, it often can’t tell you the full extent of a mold problem or identify hidden growth behind walls, under flooring, or inside HVAC systems. Professional mold inspections utilize advanced tools—such as moisture meters, thermal imaging, and lab-grade air sampling—to pinpoint problem areas quickly and accurately. This not only helps in confirming the presence of black mold but also ensures the right remediation plan is put in place before the damage spreads.